Welcome to my blog,www.obd2tool.com.

Search site
Contact
Car diagnostic tools information by obd2tool
https://www.obd2tool.com
Welcome to my blog,here some auto diagnostic tools will be displayed. If you want to know more information,you can visit our official website: www.obd2tool.com.
News
Visitors notice
12/01/2014 07:47Website launched
12/01/2014 07:46The blog of OBD2 TOOL
How Launch X431 V+ X431 PRO3 wins maxgo, snap on scanners, OTC
09/12/2020 11:05FIAT Viaggio 2012 Seatbelt ReminderAlert Activation by Launch X431
08/25/2020 18:05How to do Actuation Test by Launch Thinkcar Thinkdiag
08/25/2020 17:57Possible to use Digiprog 3 v4.94 for Porsche Cayman odometer correction
08/11/2020 10:12Digiprog 3 Chrysler/Jeep/Dodge Odometer Correction Car List and Wiring
08/11/2020 10:04ODIS SOFTWARE DOWNLOAD
06/15/2020 21:06ORANGE5 PLUS V1.35 VS. ORANGE5 V1.34
06/15/2020 21:03Newest 2020.05 Version BMW ICOM NEXT A +B + C,ICOM A2,A3+B+C Software Released
06/02/2020 12:082014 Toyota“Fault Code”C1515 “Torque sensor zero adjustment is not complete” Operation method
06/02/2020 12:01How to fix 2007 vauxhall corsa no comms with GM MDI2 tech2 win
05/05/2020 18:11How to Configure WiFi and USB for Original JLR DoIP VCI
Part 1: How to Configure WiFi for Original JLR DoIP VCI /setup wireless connection?
Original Jaguar Land Rover diagnostic tool JLR DoiP VCI supports both USB and WiFi connection. Here’s the guide to configure the LAN setting.
Procedure:
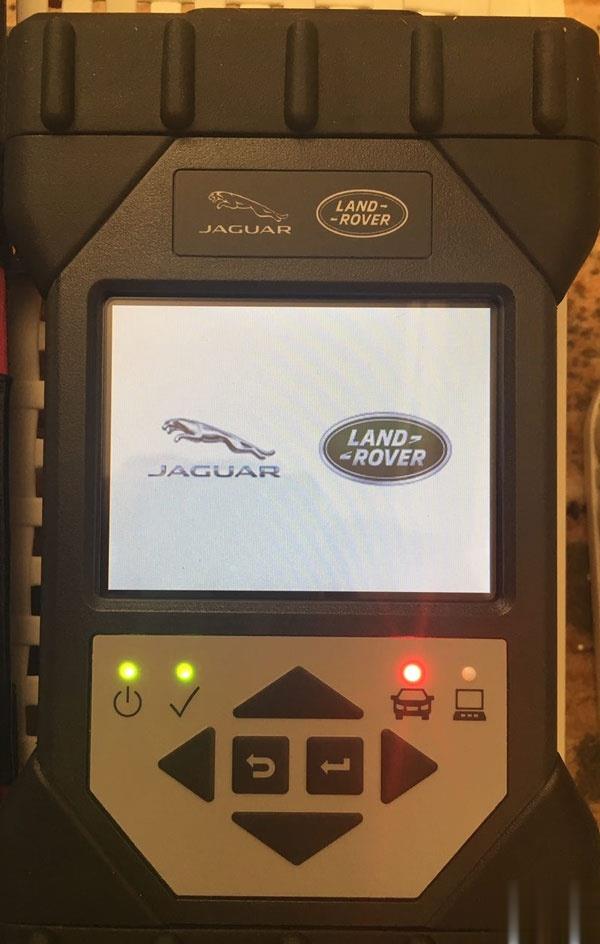
Connect JLR DoiP VCI W-F interface with vehicle
Connect the other end of VCI with laptop via USB cable
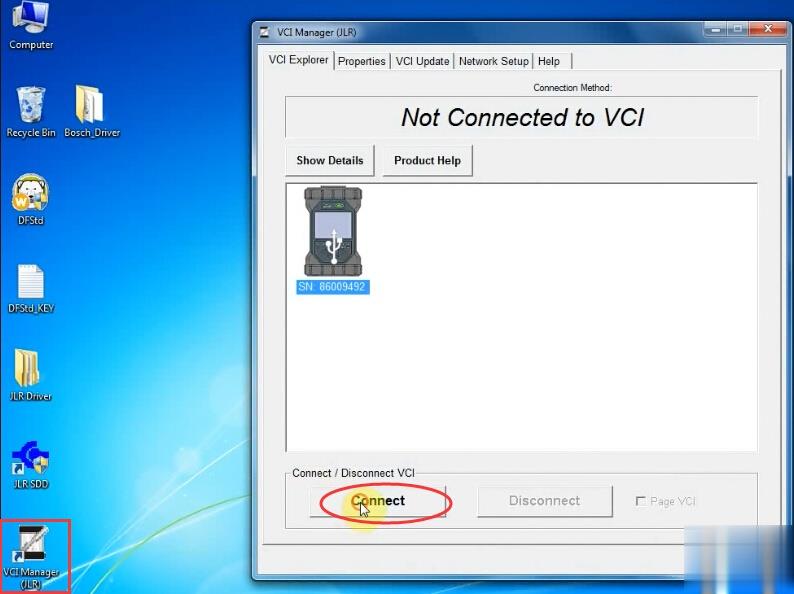
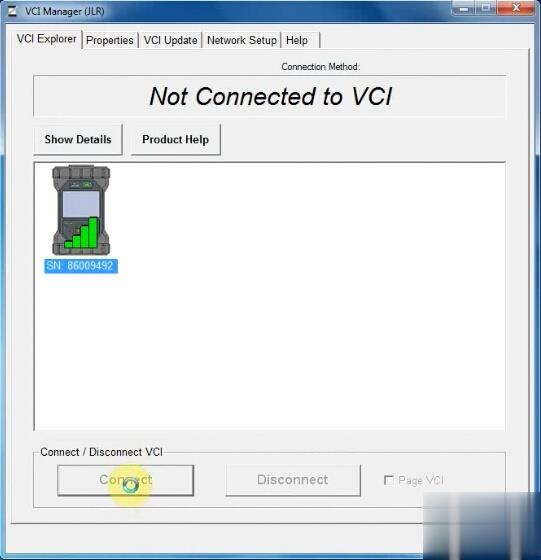
Open VCI Manager (JLR), press Connect

Choose Network Setup tab->Wired Etherent
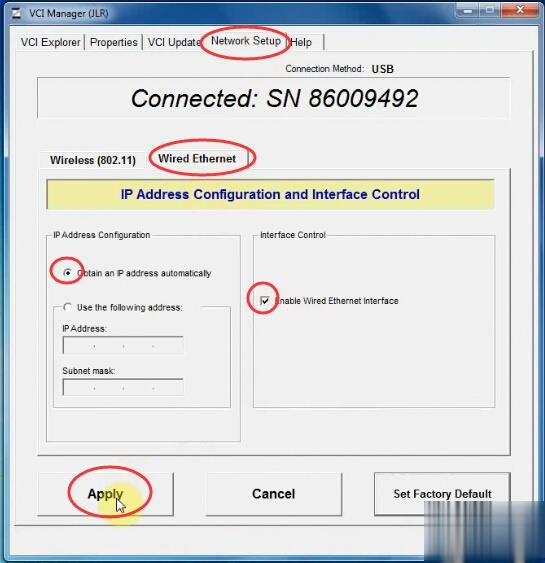
Tick Enable Wired Etherent Interface
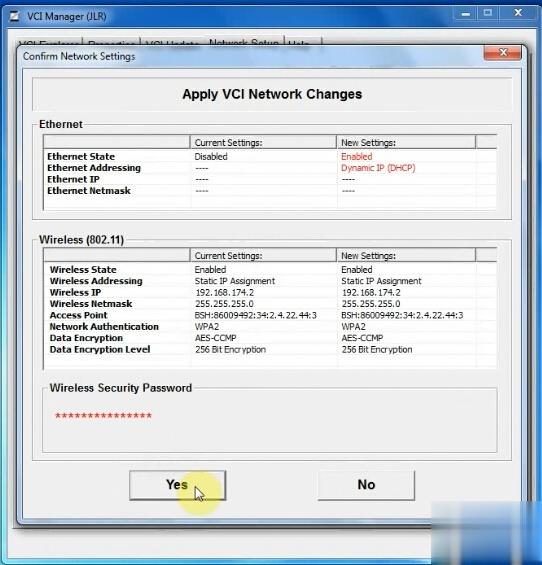
Press Apply button and Yes
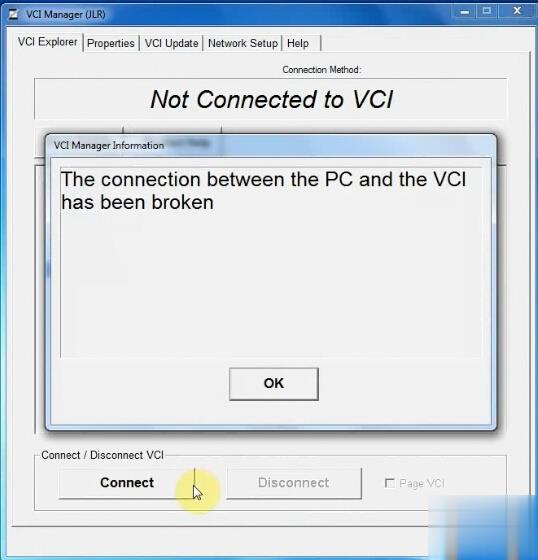
Then disconnect USB connection
Close VCI Manager
Open VCI Manager again
Press Connect
Go to Network Setup->Wired Etherent
Press Set Factory Default
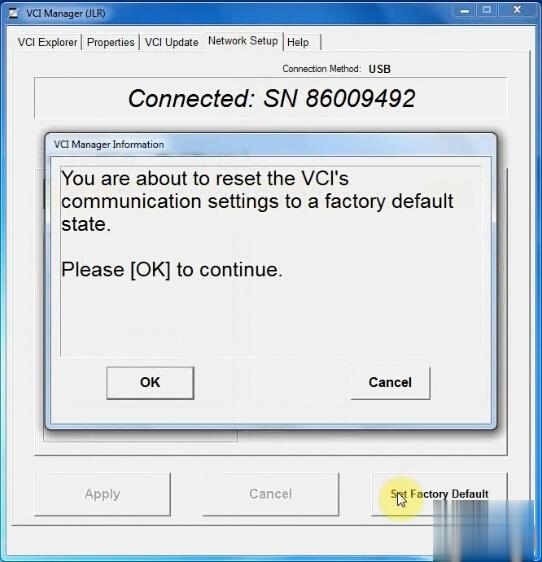
Press OK if system prompts you are about to reset the VCI communication settings to a factory default state.
Enable network connection
Press Set Factory Default again
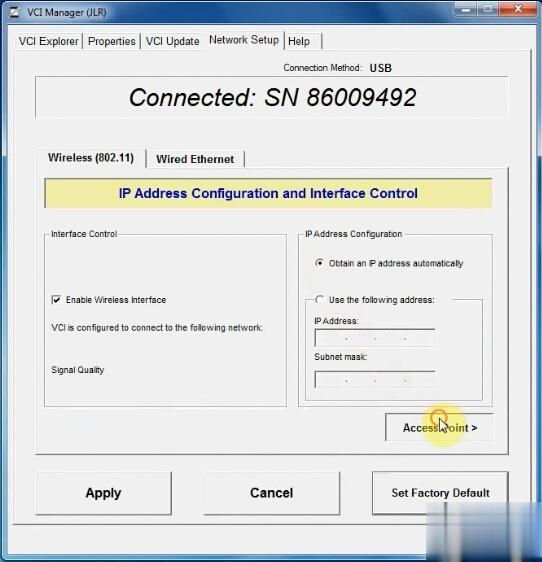
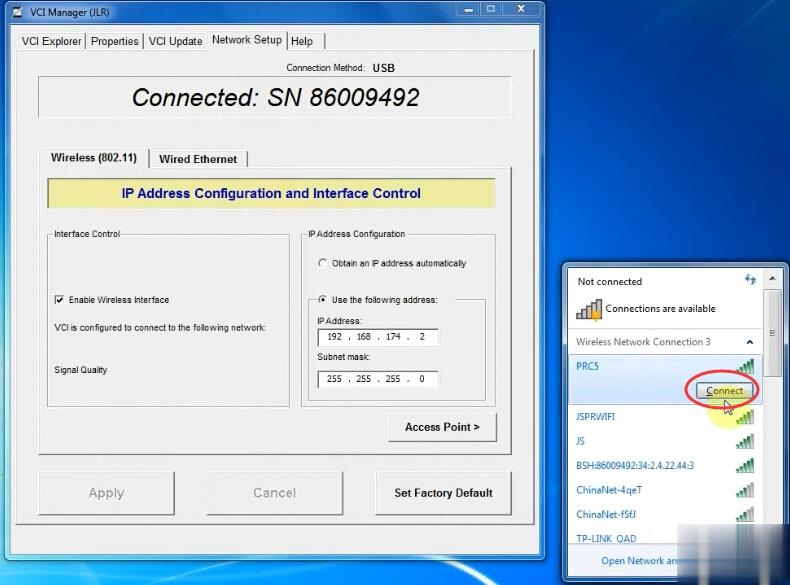
In Wireless (802.11), choose Obtain an IP address automatically, then press Access Point
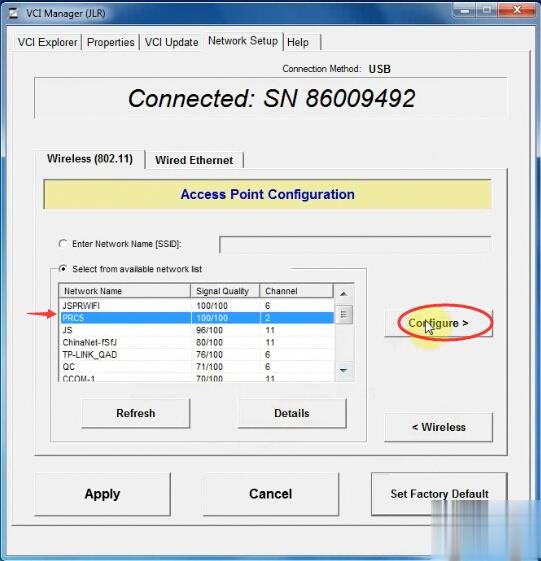
Choose Wireless resource which is the same as the your network
Press Configure
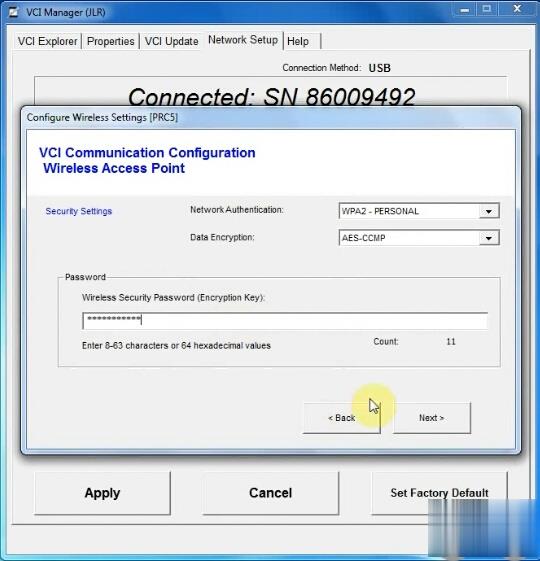
Enter wireless security password (encryption key)
Press Next
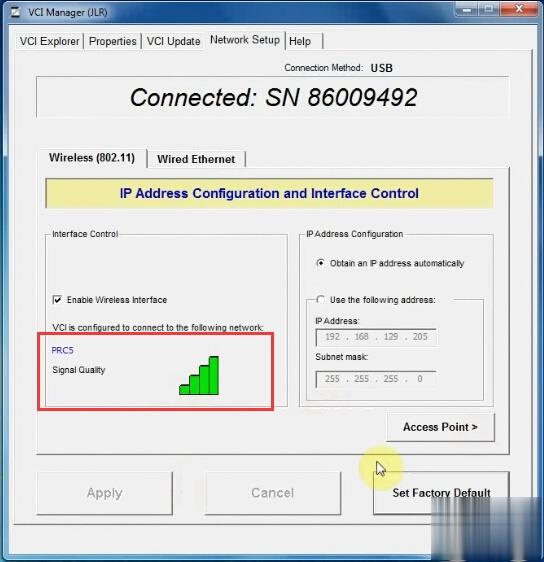
JLR VCI is configured to connect to your network
Disconnect and then Connect VCI
It shows WiFi connection is done
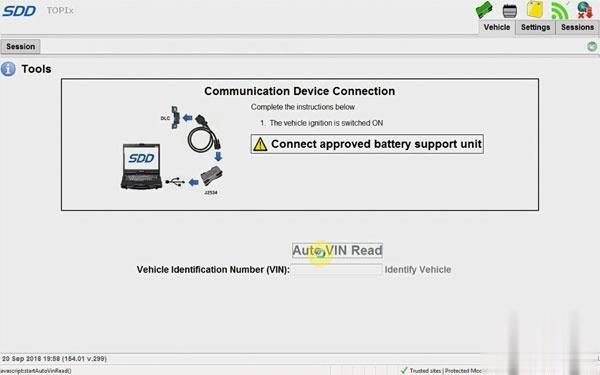
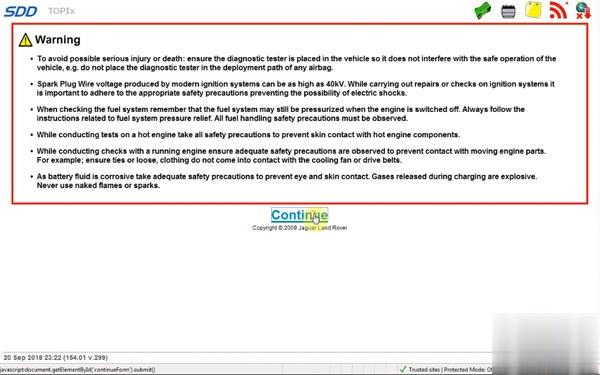
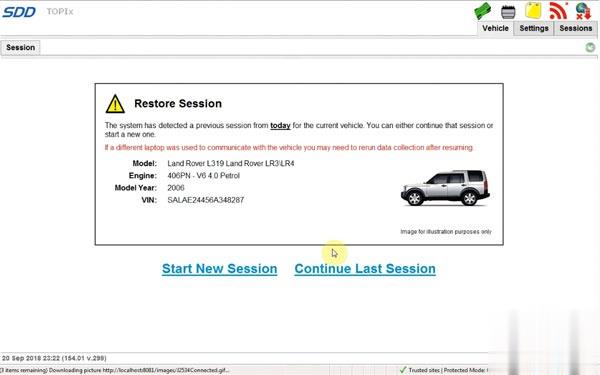
Open JLR SDD software on desktop
Press Connect
Now you can run SDD software for diagnosis
Part 2: How to connect JLR DoIP VCI via USB
To setup USB connection, you need to download Bosch driver for VCI first:
https://mega.nz/#!aqwnhbQS!KS7QhERmZ4cCcZfvT2iXkdYN6ynz9vDQ3DmPQRGm0TU
Open Bosch_Driver folder
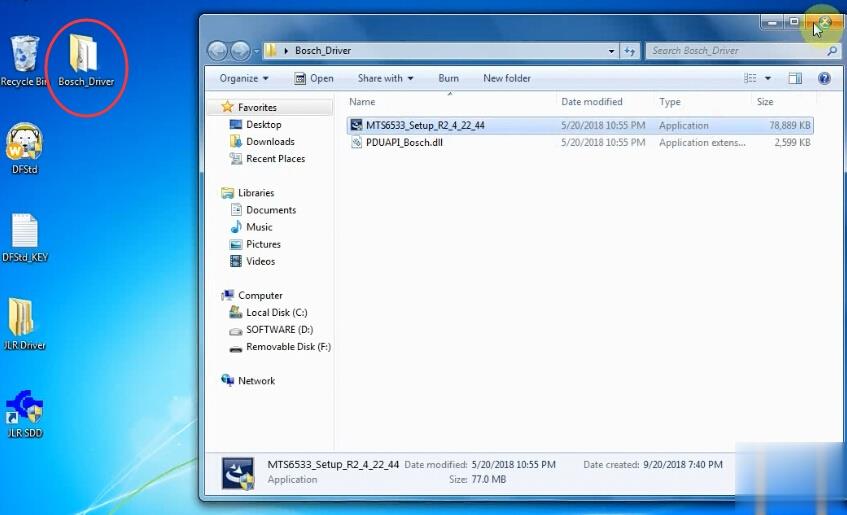
Open MTS6533_Setup
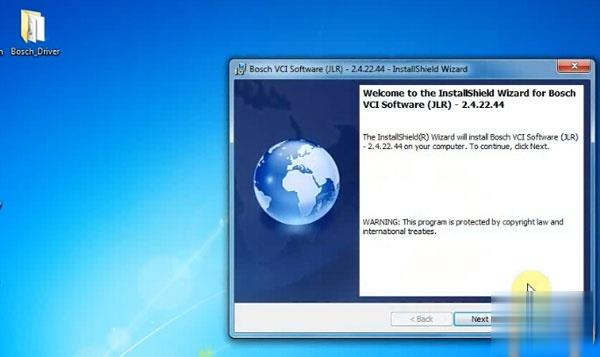
Install Bosch VCI Software (JLR)
Press Next
Press Next
Press Install
Finish installing Bosch VCI software
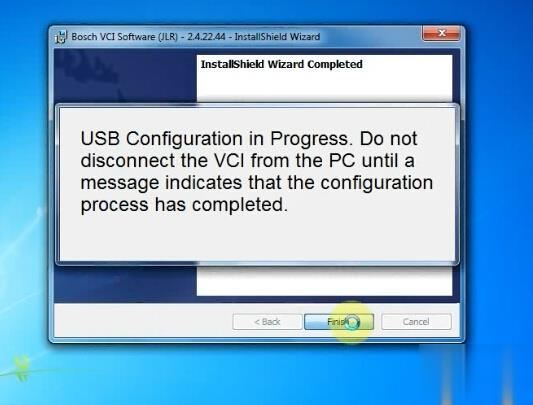
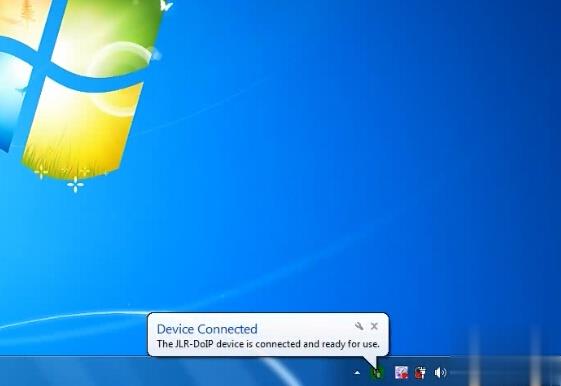
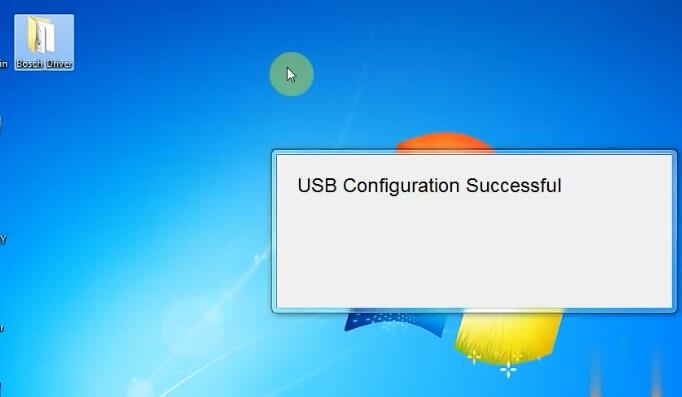
USB Configuration in progress. Don’t disconnect JLR VCI from PC until a message indicates that the configuration process has completed.
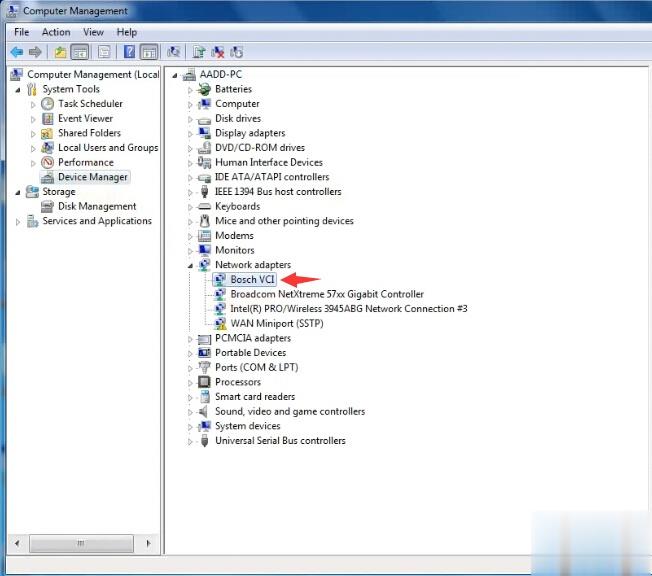
Open Device Manager to check the Bosch JLR DoIP VCI adapter is well connected
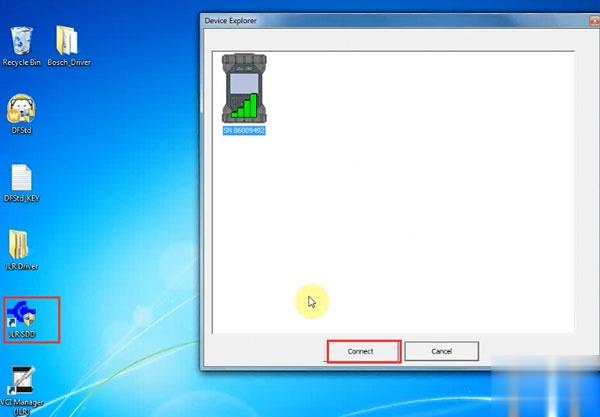
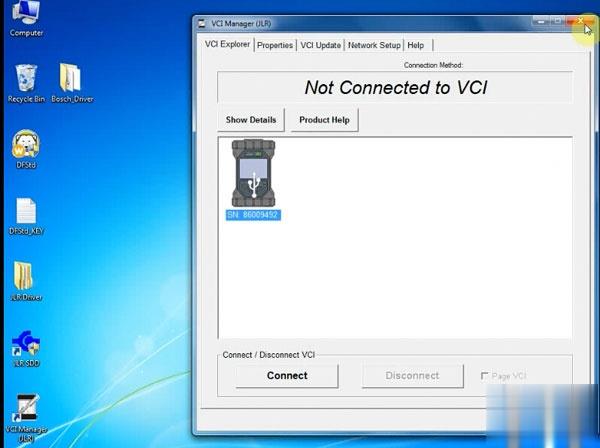
Open VCI Manager on desktop to make sure the Manager detect JLR VCI which indicates interface is well connected
Right click JLR SDD software on desktop->Find File location C:/Program Files/JLR/SDD/Runtime
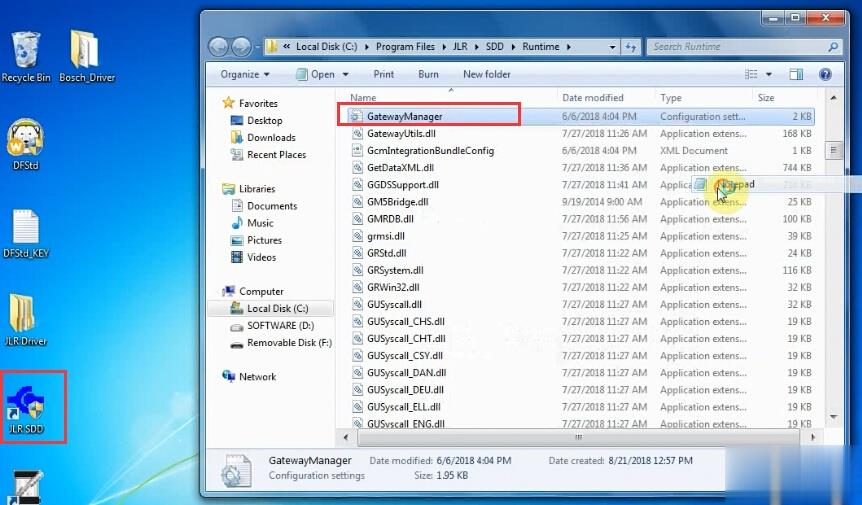
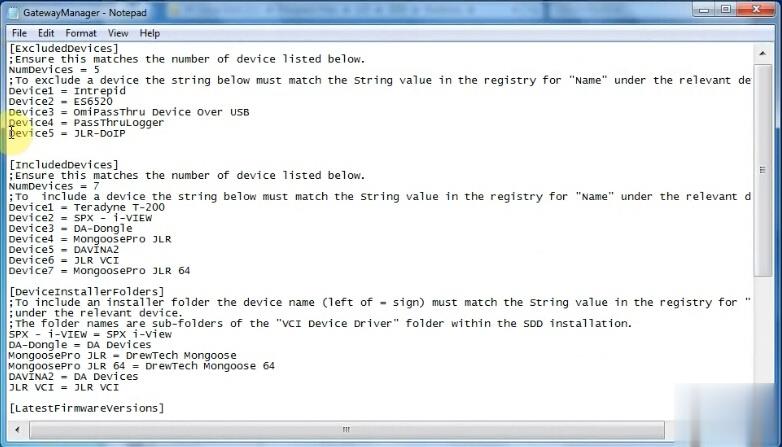
Open the GatewayManager with Notepad
Find “Device5 = JLR-DOIP” and change value to “, Device5 = JLR-DOIP”
Find Go to C:/Program Files/JLR/IDS/Runtime
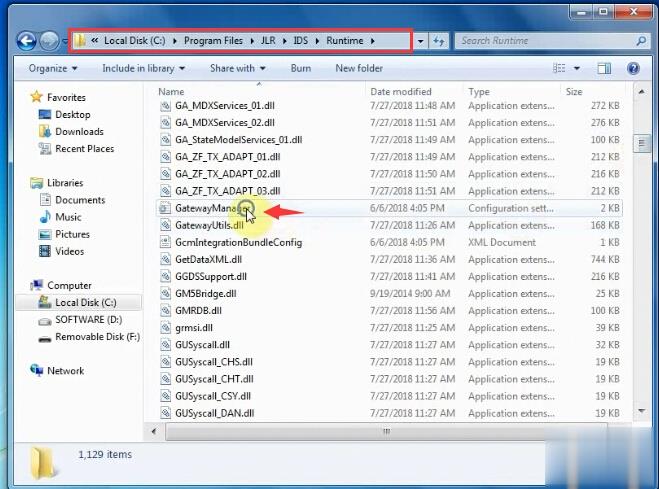
Open the GatewayManager with Notepad
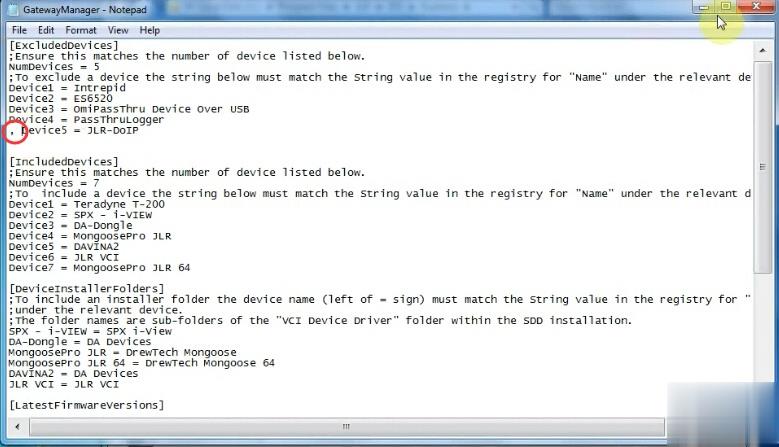
Find “Device5 = JLR-DOIP” and change value to “, Device5 = JLR-DOIP”
Setup completed.
Now you can run JLR SDD and Pathfinder software